Example Omeka Sites
Omeka is a software tool that you can use to create online exhibits showing collections of images, documents, multimedia, etc. The best way to understand Omeka is to look at some finished products. Take a few minutes to explore one of the following sites:
- https://baltimoreuprising2015.org/
- http://coloredconventions.org/
- http://dawnlandvoices.org/
- https://goinnorth.org/
- https://www.cppdigitallibrary.org/
- http://mallhistory.org/
In pairs, discuss your impressions of each of your sites and compare them. What is their audience, what kind of “stuff” do they have, how are they organized, etc.
Debrief as a class:
- What seems to be the “structure” of an Omeka site? What are its different elements?
Make a Sandbox Directory
Today we are going to install an Omeka site that will be hosted with your account at Reclaim hosting. First, we’re going to create a new sub-directory in our Reclaim Hosting database where the Omeka site is going to live.
To create your sandbox:
- Log in to Reclaim Hosting with the account you created
- Go to
File Managerand make sure you are in thepublic_htmlfolder - Navigate to your folder called
f19-dig-histthat you created in Week 2 when you installed Wordpress. - Navigate to the folder. It should have a
websitefolder from Week 2. - Create a new folder called
omeka-sandbox.
Install and Set Up Omeka
Navigate to your cPanel in your Reclaim Hosting account. Install Omeka within your specific sub-folder you created - in this case, Directory (Optional) should say: f19-dig-hist/omeka-sandbox. Instructions: https://community.reclaimhosting.com/t/installing-omeka-classic-on-reclaim-hosting/193
Note: choose a username and password that you can remember and copy/paste it somewhere for your reference. This is what you’re going to use to log in to this Wordpress site moving forward. Additionally, change the Website Title from “My cms” to “Omeka Sandbox”
Under My Applications in Reclaim Hosting, you should now see an Omeka installation listed along with your Wordpress installation(s). Now you should have an Omeka installation under http://yourdomainname/f19-dig-hist/omeka-sandbox. If you go back to Reclaim Hosting’s File Manager and go back to f19-dig-hist folder, open up omeka-sandbox. If you look inside here, you will see a bunch of new folders and files that were automatically generated to “build” your Omeka site.
Much like your Wordpress installation, in order to actually start using Omeka you need to log in to the Omeka dashboard (separate from Reclaim Hosting). The login page will be: http://yourdomainname/f19-dig-hist/omeka-sandbox/admin , and you will use the username and password you specified when you installed Omeka.
Before we begin, we need to change a technical setting to allow Omeka to function normally. Follow the instructions on this page to configure Image Magick: https://community.reclaimhosting.com/t/working-with-omeka-classic/194.
Items and Metadata
The building blocks of Omeka are items. These are individual sources or other kinds of material - in a museum context, something like a painting, map, diary, film, etc. The point of Omeka is add these items as digital records and document their metadata, or information about them. Take a minute to navigate to Item Types in your Omeka dashboard. These are the general categories of items that Omeka has supplied for you, along with customized metadata fields tailored for that kind of item. However, if you want to you can make your own item types and add your own metadata fields. Omeka also uses Dublin Core, which is a set of metadata standards for digital collections.
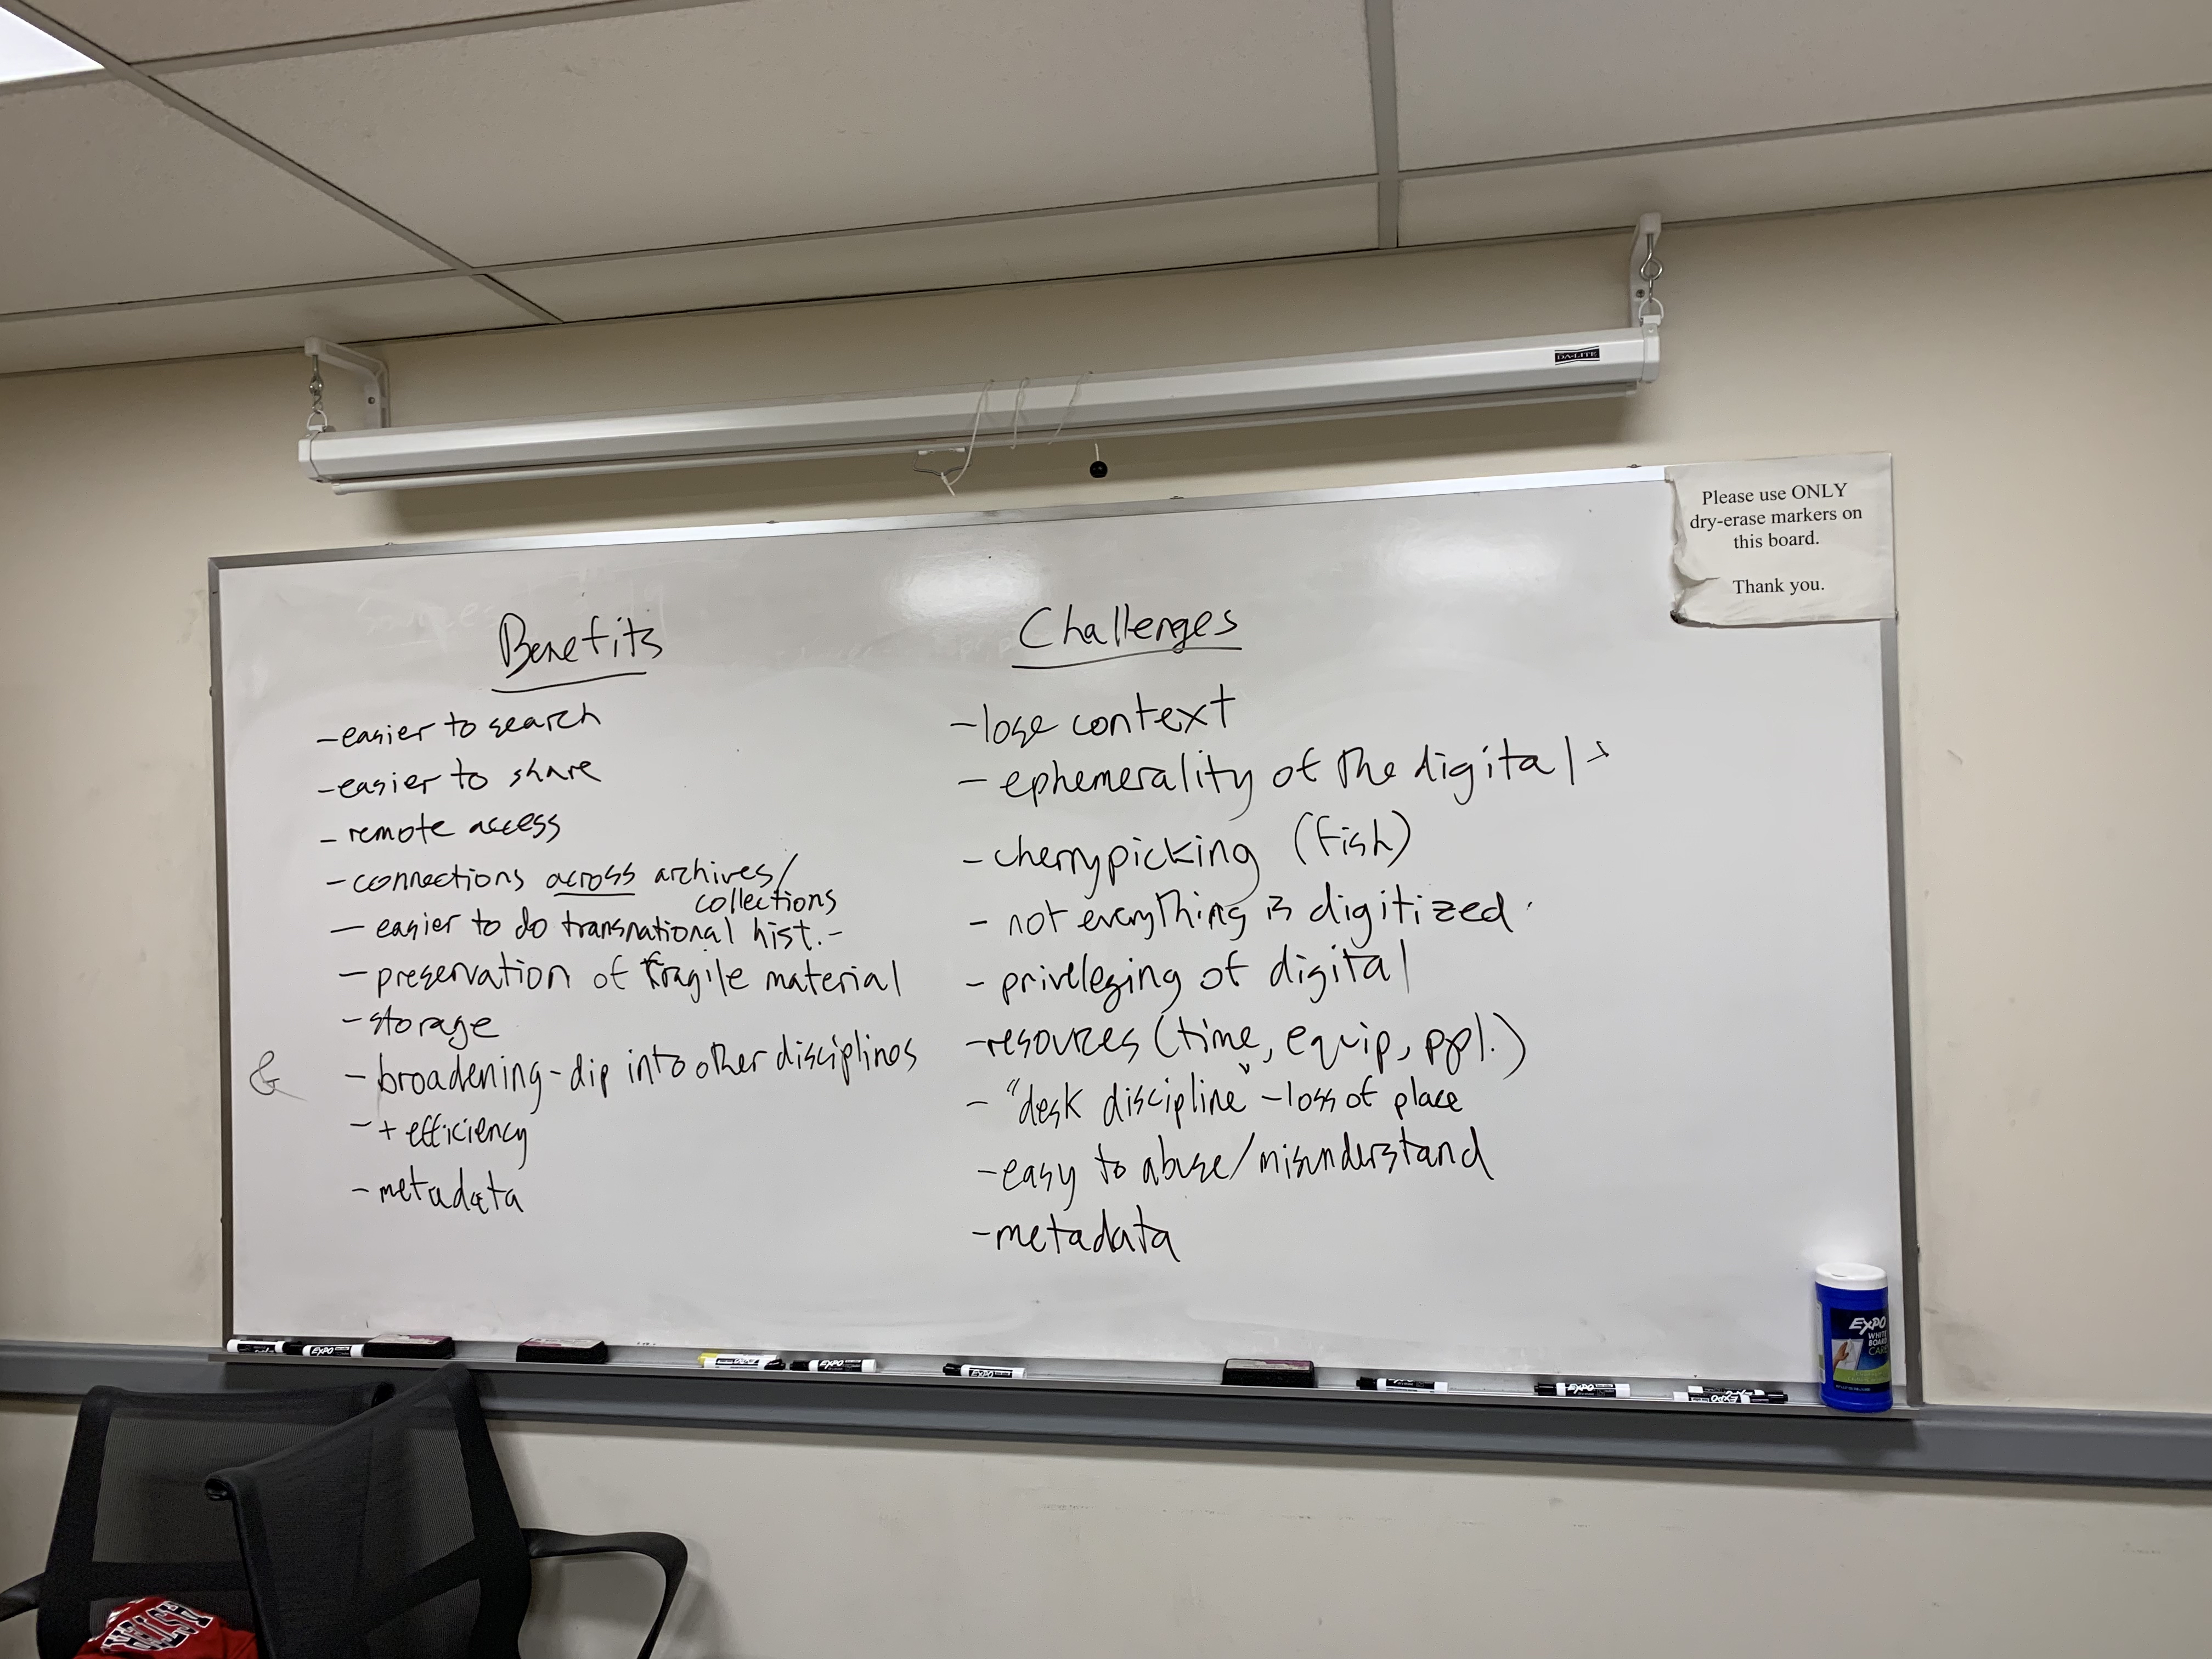
I’ve supplied you with two things for you to add as items: our class’s Community Guidelines and whiteboard notes from two weeks ago. Work with the person next to you to add these two items to each of your Omeka sites. Fill out the following tabs for your item:
- Dublin Core: Add information for at least Title, Subject, Description, Creator, and Date.
- Item Type Metadata: Choose what Item Type you think this item is and fill in the fields that Omeka automatically generates for that Item Type.
- File: If applicable, add a digital file to accompany your item.
- Tags: Add at least two “tags” - words associated with the item.
Once you’ve created your items, click View Public Page to see what the items look like to a visitor to your site.
Collections and Exhibits
Collections
You can group items together in collections - much like a museum might have a particular collection of, say, material gifted by a particular donor. Omeka defines collections as: “In Omeka Classic, an item can only belong to one collection. Collections can, of course, have multiple items. The concept of Omeka collections originates from museum and archives collections; one cannot put a document into more than one box.” - Omeka Collections. Collections allow users to go back and browse through all the items in a collection.
Now that we’ve added items to your Omeka site, try creating a new collection based on these items, and then add the items to it: https://omeka.org/classic/docs/Content/Collections/.
Exhibits
Museums typically don’t display the entirety of their collections or items - they curate them into exhibits for visitors to walk through. Although Omeka allows users to browse collections, it has a different feature for making digital exhibits. To do so, however, you’ll need to install a plugin called Exhibit Builder under the Plugins tab at the top of your Dashboard. This will add a new option on the left of your Dashboard called Exhibits.
You are now able to build an exhibit within your Omeka site. Omeka uses a block system, where you use individual items as your blocks and can intersperse them with text or other images into a larger page. Exhibits can then have multiple pages.
Try creating a new exhibit that includes the two items you added to your Omeka site along with some text to contextualize them. I’ve found the best way to understand exhibits is to try building and muck around with some of the options. See what the public-facing exhibit looks like by clicking View Public Page.
Notes on Omeka
Types of Omeka:
- Omeka Classic: This is what we are going to use. It allows you to run an independent website on your own server (in our case, on Reclaim Hosting). This makes sense for smaller-scale projects or more individual work.
- Omeka.net: This is more limited in functionality, but you can quickly build an Omeka website hosted for free on the Omeka.net servers.
- Omeka S: the newest version of Omeka Classic geared towards larger institutions like archives, universities, galleries, etc. Its main difference from Omeka Classic is that it makes it easier for many different users to collaborate using a shared collection of items, media, and metadata.
Appearance: If you would like to change the appearance of your site (colors, design, etc.) you can do so by switching Themes (similar to Wordpress). It’s a little bit trickier, however. In this case, you need to download an Omeka Theme from this list and use the following instructions to upload it to your Omeka directory through Reclaim Hosting: https://community.reclaimhosting.com/t/uploading-plugins-to-omeka/195/2.
Vocabulary: if you get confused about the different parts of Omeka, refer to Miriam Posner’s section on Omeka Vocabulary: http://miriamposner.com/blog/wp-content/uploads/2013/03/Up-and-Running-with-Omeka2.pdf